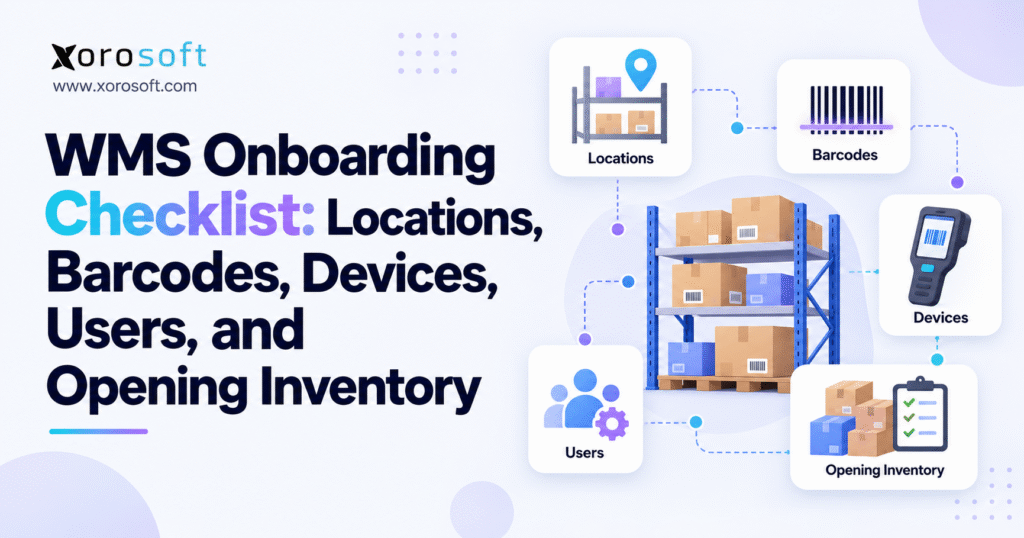
To streamline your warehouse management system implementation, it’s important to use a comprehensive WMS onboarding checklist.
1. Why a WMS Onboarding Checklist Matters Before the First Live Transaction
A warehouse management system can have every major configuration completed and still fail during the first week of live operations.
The problem usually starts with small operational gaps. A picker scans a location that does not match the physical rack. A receiving employee finds two barcodes on the same carton and chooses the wrong one. Another user cannot complete an inventory transfer because the permission model excludes a required transaction. Meanwhile, finance discovers that opening stock does not match the balance it expected.
None of these issues necessarily indicate bad WMS software. They usually point to incomplete operational onboarding.
A practical WMS onboarding checklist prevents those gaps from becoming everyday warehouse problems. It connects system configuration with what employees, inventory, equipment, integrations, and physical locations actually do on the warehouse floor.
1.1 A WMS Readiness Checklist Connects Physical and Digital Operations
Successful onboarding requires the physical warehouse and the system to describe the same reality.
If the WMS calls a location A02-R04-B03, employees should find that exact label at the expected rack. When the system says 48 units sit in that location, inventory control should be able to verify those 48 units physically. When a product requires lot tracking, receivers should capture the lot before completing the transaction.
This alignment sounds basic, yet warehouses often carry years of informal practices into a new system.
Teams may use temporary storage positions that never entered the old database. Supervisors may rely on spreadsheets to track exceptions. Experienced employees may know that one SKU is always stored beside another even though no formal rule documents that relationship.
WMS onboarding must expose those hidden operating rules before go-live.
1.2 WMS Onboarding and WMS Implementation Solve Different Problems
A full WMS implementation typically includes requirements gathering, project governance, integration design, configuration, migration, training, testing, cutover, and stabilization.
The WMS onboarding checklist focuses more narrowly on operational readiness.
It answers practical questions: Can workers scan every required location? Do devices work throughout the building? Can receivers process partial quantities? Do pickers know how to handle shortages? Does opening inventory match physical stock?
Implementation gets the system deployed. Onboarding makes the warehouse capable of using it reliably.
2. WMS Onboarding Checklist: Establish the Correct Setup Sequence
Warehouse configuration works best when teams follow operational dependencies instead of configuring modules in isolation.
Locations depend on warehouse design. Barcode workflows depend on product and location identifiers. Opening inventory depends on both location structure and item data. User testing depends on devices, permissions, and workflows.
Skipping that sequence creates unnecessary rework.
2.1 Follow a Practical WMS Setup Checklist
A strong WMS onboarding checklist usually follows this order:
1. Clean product and warehouse master data.
2. Define warehouse, zone, aisle, rack, and bin structures.
3. Create location records and labels.
4. Map product, case, pallet, and location barcodes.
5. Configure scanners, printers, and mobile devices.
6. Validate wireless connectivity.
7. Create users, roles, and permissions.
8. Configure receiving and putaway.
9. Configure replenishment and picking.
10. Configure packing, shipping, returns, and counting.
11. Test integrations.
12. Prepare the inventory cutover.
13.Count and load opening stock.
14. Reconcile physical and system inventory.
15. Run user acceptance testing.
16. Approve warehouse go-live.
Teams should resist the temptation to jump ahead simply because one department feels ready.
2.2 Define WMS Go-Live Readiness Before Configuration Starts
Operations leaders should establish acceptance criteria before anyone begins final testing.
A location does not qualify as ready merely because someone created it in the database. Employees must also find it, scan it, understand its purpose, and use it in the intended workflow.
The same rule applies to devices. Turning on a scanner proves very little. The device needs to maintain connectivity, recognize production labels, display usable menus, execute transactions quickly, and recover predictably from interruptions.
Clear readiness criteria give the project team an objective basis for approving or delaying go-live.
3. Start the Warehouse Onboarding Checklist With Clean Master Data
A WMS cannot compensate for unreliable product data.
Incorrect case quantities, duplicate barcodes, missing units of measure, inconsistent SKU identifiers, and incomplete tracking attributes can create problems across receiving, putaway, allocation, picking, replenishment, shipping, and cycle counting.
For that reason, master-data validation should come before detailed warehouse configuration.
3.1 Validate Product Data Before WMS Setup
Review every active item that the warehouse will handle.
Useful fields include SKU, product description, variant, base unit of measure, purchase unit, selling unit, case pack, inner pack, weight, dimensions, barcode, lot-control requirement, serial-control requirement, expiry rules, and product status.
Do not assume historical data deserves migration simply because the previous system contains it.
Legacy systems often accumulate obsolete items, duplicate identifiers, unused product codes, and supplier references that no longer serve an operational purpose.
At the same time, avoid deleting valid alternate identifiers too aggressively. A supplier barcode may still appear on incoming cartons even when the company uses a different internal SKU.
3.2 Include Packaging Logic in the WMS Configuration Checklist
Units of measure create some of the most disruptive warehouse errors.
Imagine that purchasing buys one case containing 24 units, wholesale customers sometimes order packs of six, and ecommerce sells individual units. The WMS needs to understand those relationships clearly.
Otherwise, a receiver entering a quantity of 10 may accidentally record 10 each instead of 10 cases.
Document packaging conversions before go-live and test them through actual receiving, transfer, allocation, picking, and shipping scenarios.
3.3 Define Lot, Serial, and Expiry Requirements Early
Controlled inventory adds another level of complexity.
Food businesses often need lot and expiry management. Equipment companies may require serial-number tracking. Apparel businesses need dependable style, color, and size variants. Manufacturers may need different control rules for raw materials, work-in-progress, and finished goods.
Teams should define these requirements before loading opening inventory because the controls determine how the warehouse must count and migrate stock.
4. Use the WMS Setup Checklist to Build a Reliable Location Structure
Warehouse locations form the physical foundation of WMS execution.
Every receipt, putaway task, transfer, replenishment, pick, cycle count, and adjustment eventually refers to a location. Weak location design therefore creates friction across almost every warehouse workflow.
4.1 Design Warehouse Locations Around How People Work
A common hierarchy looks like:
Warehouse → Zone → Aisle → Rack → Level → Bin
A code such as A03-R08-L02-B04 can identify aisle 3, rack 8, level 2, bin 4.
The exact coding pattern matters less than consistency.
Employees should be able to interpret labels quickly, scanners should read them reliably, and future warehouse expansion should not require a complete naming redesign.
Avoid product names inside permanent location codes. Products change locations more frequently than racks do.
Organizations evaluating XoroWMS can apply the same operating principle: warehouse software should support movement through receiving, putaway, picking, packing, transfers, cycle counts, and multi-location inventory while preserving clear location-level control.
4.2 Add Operational Meaning to WMS Location Types
Not every location should behave the same way.
Receiving docks serve a different purpose than pick faces. Quarantine stock should not behave like ordinary available inventory. Returns may require inspection before the business releases them back into sellable stock.
Common location types include receiving, bulk storage, reserve inventory, forward pick, staging, packing, shipping, returns, quality hold, quarantine, damaged goods, and production staging.
Clear location types help the WMS enforce operational rules instead of relying on employee memory.
4.3 Choose Fixed and Dynamic Locations Deliberately
Fixed locations work well when fast-moving SKUs need predictable pick positions.
Dynamic locations can improve storage flexibility because the WMS selects available space based on configured rules.
Many warehouses benefit from a hybrid model. Forward-pick areas may use fixed assignments, while reserve stock moves dynamically.
The WMS onboarding checklist should document these rules before teams begin testing putaway and replenishment.
5. Strengthen the WMS Onboarding Checklist With Clear Barcode Logic
Barcode setup involves much more than printing labels.
The warehouse needs to know what each barcode represents, when employees should scan it, and what the system should do after the scan.
5.1 Define Every Barcode’s Operational Purpose
A product barcode identifies an item. A case barcode may identify both the item and a packaging level. A location barcode confirms physical position. A license-plate identifier can represent a pallet or another handling unit.
Those differences matter.
When employees scan a label, the WMS should interpret the identifier within the context of the task. Receiving a pallet, confirming a pick location, and validating a serial number all require different system behavior.
5.2 Map Existing Barcodes Before Creating New Ones
Many businesses already receive merchandise carrying UPC, EAN, GTIN, supplier-specific, retailer-specific, or internal identifiers.
Catalog those codes first.
If the WMS can map an existing supplier barcode reliably to the correct SKU and packaging level, the business may not need to apply another label.
Creating unnecessary barcode layers increases confusion rather than control.
5.3 Test Barcode Exceptions During WMS Onboarding
Do not test only clean labels under perfect lighting.
Warehouse teams should scan damaged labels, partially covered labels, multiple identifiers on one package, duplicate scans, wrong products, wrong locations, case codes, each-level codes, and replacement labels.
These tests show whether the workflow stops mistakes before users post incorrect inventory transactions.
A robust WMS onboarding checklist therefore evaluates both successful scanning and controlled failure.
6. Add Devices and Connectivity to the WMS Readiness Checklist
Warehouse software depends heavily on hardware.
A workflow that works perfectly on a desktop can become frustrating when employees use handheld devices while walking between racks, wearing gloves, working near metal shelving, or moving through areas with inconsistent wireless coverage.
6.1 Create a Warehouse Device Register
Document every production device.
The list may include handheld scanners, mobile computers, tablets, fixed workstations, barcode printers, shipping printers, charging docks, batteries, and backup hardware.
Record where each device belongs, who uses it, which profile it requires, and how operations will replace it when it fails.
Shared equipment needs equally clear ownership. Workers should know where they collect devices, where they return them, and how they report damage or battery problems.
6.2 Test Wireless Coverage Where Transactions Actually Occur
A Wi-Fi test beside the office does not represent warehouse conditions.
Walk the entire facility while completing actual WMS tasks.
Check receiving docks, bulk-storage aisles, high racks, mezzanines, staging locations, packing stations, returns, shipping doors, and exterior areas where warehouse employees use mobile devices.
Pay particular attention to roaming between access points.
Operators need confidence that the WMS completed the transaction when they move from one coverage zone to another.
6.3 Include Printers in the WMS Configuration Checklist
Receiving may require product or pallet labels. Packing may create carton labels. Shipping can introduce carrier documents or additional labels.
Assign printers according to workflow and operating zone.
Then test normal printing, reprinting, printer failures, label jams, incorrect formats, and backup procedures.
7. Use WMS User Setup to Protect Inventory Accuracy
Warehouse permissions determine who can perform high-impact inventory transactions.
During implementation, teams sometimes give broad access because it makes testing easier. That shortcut can become a control problem once employees start processing real stock.
7.1 Build WMS Roles Around Warehouse Responsibilities
Typical roles include receiver, putaway operator, replenishment worker, picker, packer, inventory-control specialist, supervisor, and administrator.
Each group needs a different set of transactions.
Receivers should handle inbound tasks without gaining unnecessary access to system configuration. Pickers require outbound work but usually do not need unrestricted inventory adjustments. Supervisors need exception tools, while administrators need configuration functions.
Businesses connecting warehouse processes with purchasing, finance, and broader operational records can evaluate an integrated platform such as XoroERP when defining how warehouse permissions interact with the rest of the ERP environment.
7.2 Apply Least-Privilege Rules During WMS Onboarding
Give users enough access to complete their responsibilities and no more.
High-risk actions deserve tighter controls. These may include inventory adjustments, shipment reversals, master-data changes, allocation overrides, location edits, and administrative configuration.
Supervisors should also define who approves exceptions.
For example, a picker who discovers damaged stock should report the issue through the approved workflow rather than immediately changing system quantity.
7.3 Test Each WMS User Role on Production Devices
Administrator testing does not prove operational readiness.
Log in with representative worker accounts on the same handheld devices employees will use after launch.
Confirm menu access, warehouse assignment, transaction visibility, restrictions, timeout behavior, and exception handling.
Include temporary or seasonal users if peak-period staffing forms part of the operating model.
8. Expand the WMS Setup Checklist to Complete Warehouse Workflows
Operations should validate transaction chains instead of testing isolated screens.
A receiving screen may work correctly while the resulting inventory fails to become available for allocation. Picking may complete inside the WMS but fail to update the ERP or sales channel.
End-to-end testing exposes those gaps.
8.1 Test the Full WMS Receiving and Putaway Process
Start with the purchase order or transfer.
Receive the product, verify quantity, capture lots or serials when necessary, manage discrepancies, create labels, stage inventory, complete putaway, and confirm final availability.
Partial receipts deserve special attention.
If a purchase order expects 100 units and the supplier sends 80, the system should receive 80 correctly while preserving the remaining open quantity according to the purchasing process.
8.2 Include WMS Replenishment in Onboarding
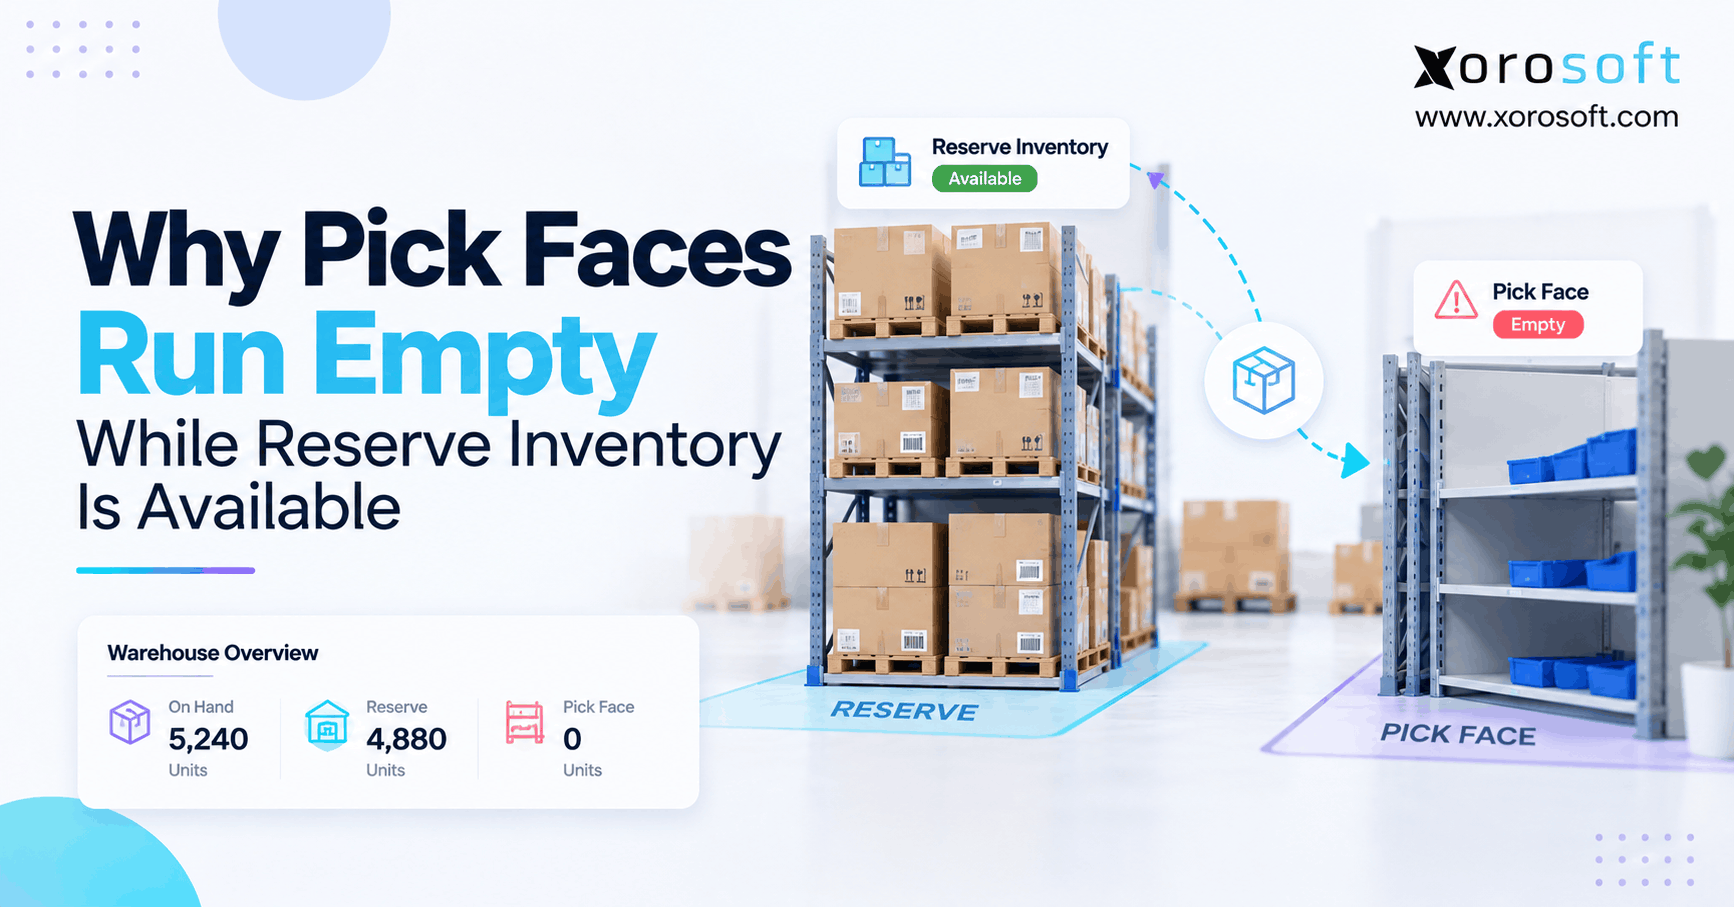
Total warehouse stock does not guarantee picking availability.
A forward-pick location can run empty while reserve inventory remains elsewhere.
The replenishment process should detect or respond to that condition according to defined rules.
Teams need to know what triggers replenishment, who performs the task, which source locations qualify, and what happens when no eligible reserve inventory exists.
8.3 Test WMS Picking, Packing, and Shipping Together
Use representative orders.
Include a single-line order, multi-line order, partial allocation, short pick, lot-controlled product, serial-controlled product, split-location order, cancelled order, and changed order.
Packing should verify the correct product and quantity before shipment. Shipping should reduce inventory appropriately and communicate the result to connected systems.
The WMS onboarding checklist should confirm the entire flow rather than treating each screen as an independent test.
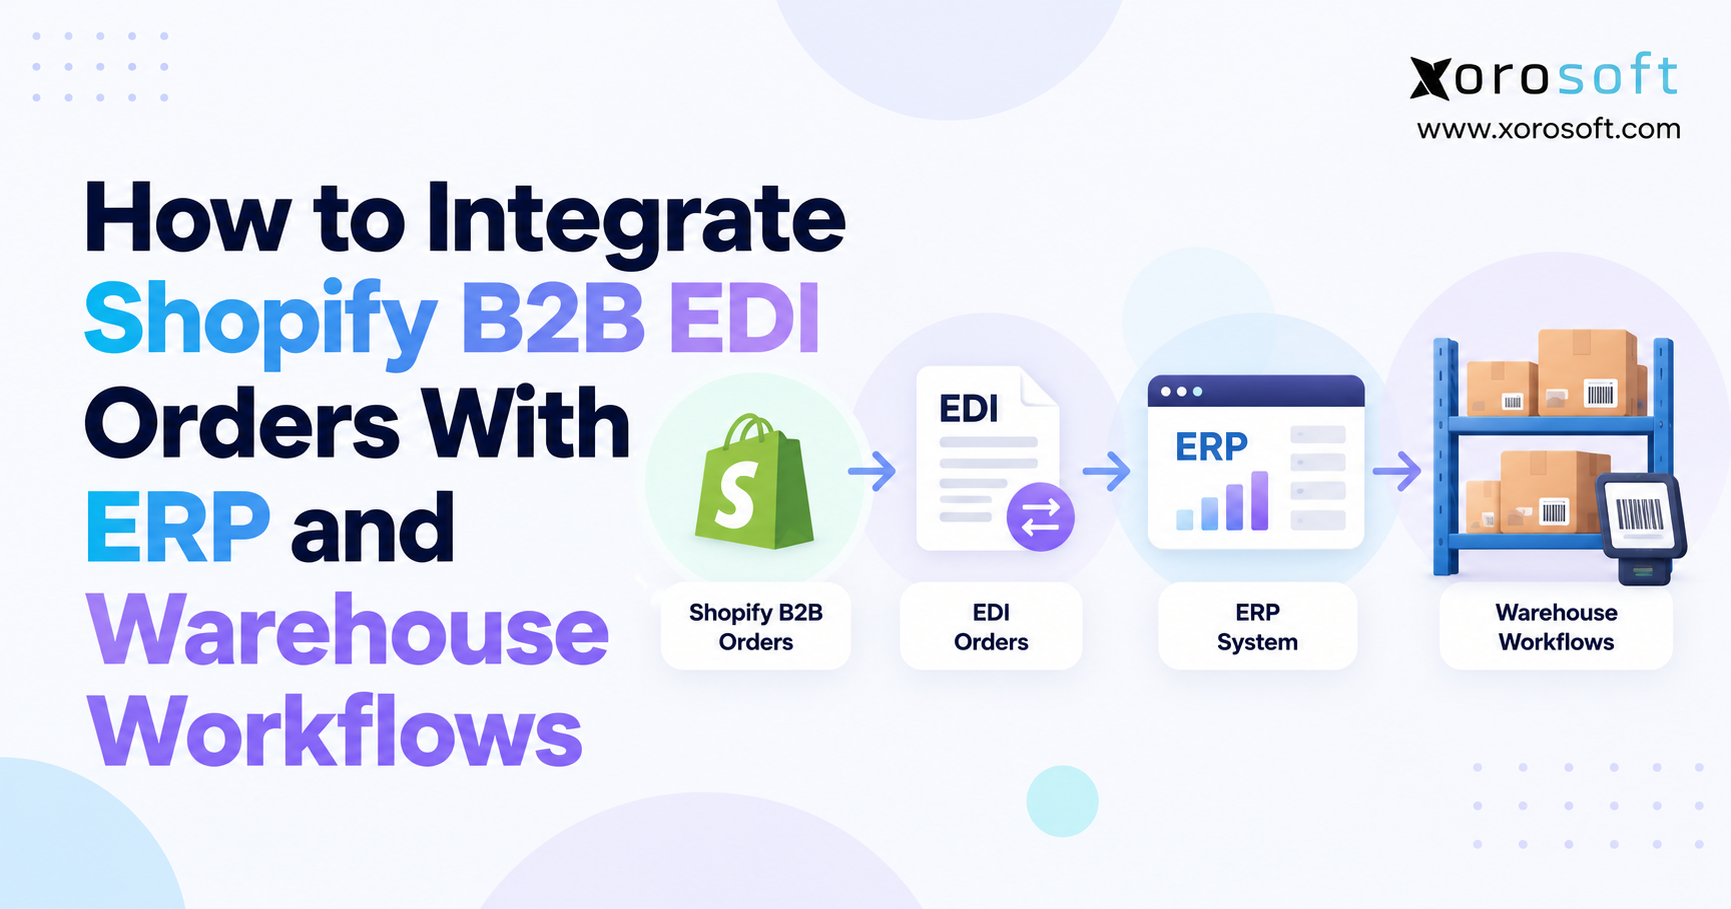
9. Include Integrations in the WMS Onboarding Checklist
Modern warehouses exchange data with several systems.
Sales orders may come from ecommerce, EDI, marketplaces, or an ERP. Purchase orders often originate outside the WMS. Shipping confirmations can affect customer notifications, financial records, and channel inventory.
Integration readiness therefore belongs inside warehouse onboarding.
9.1 Define System Ownership Before WMS Go-Live
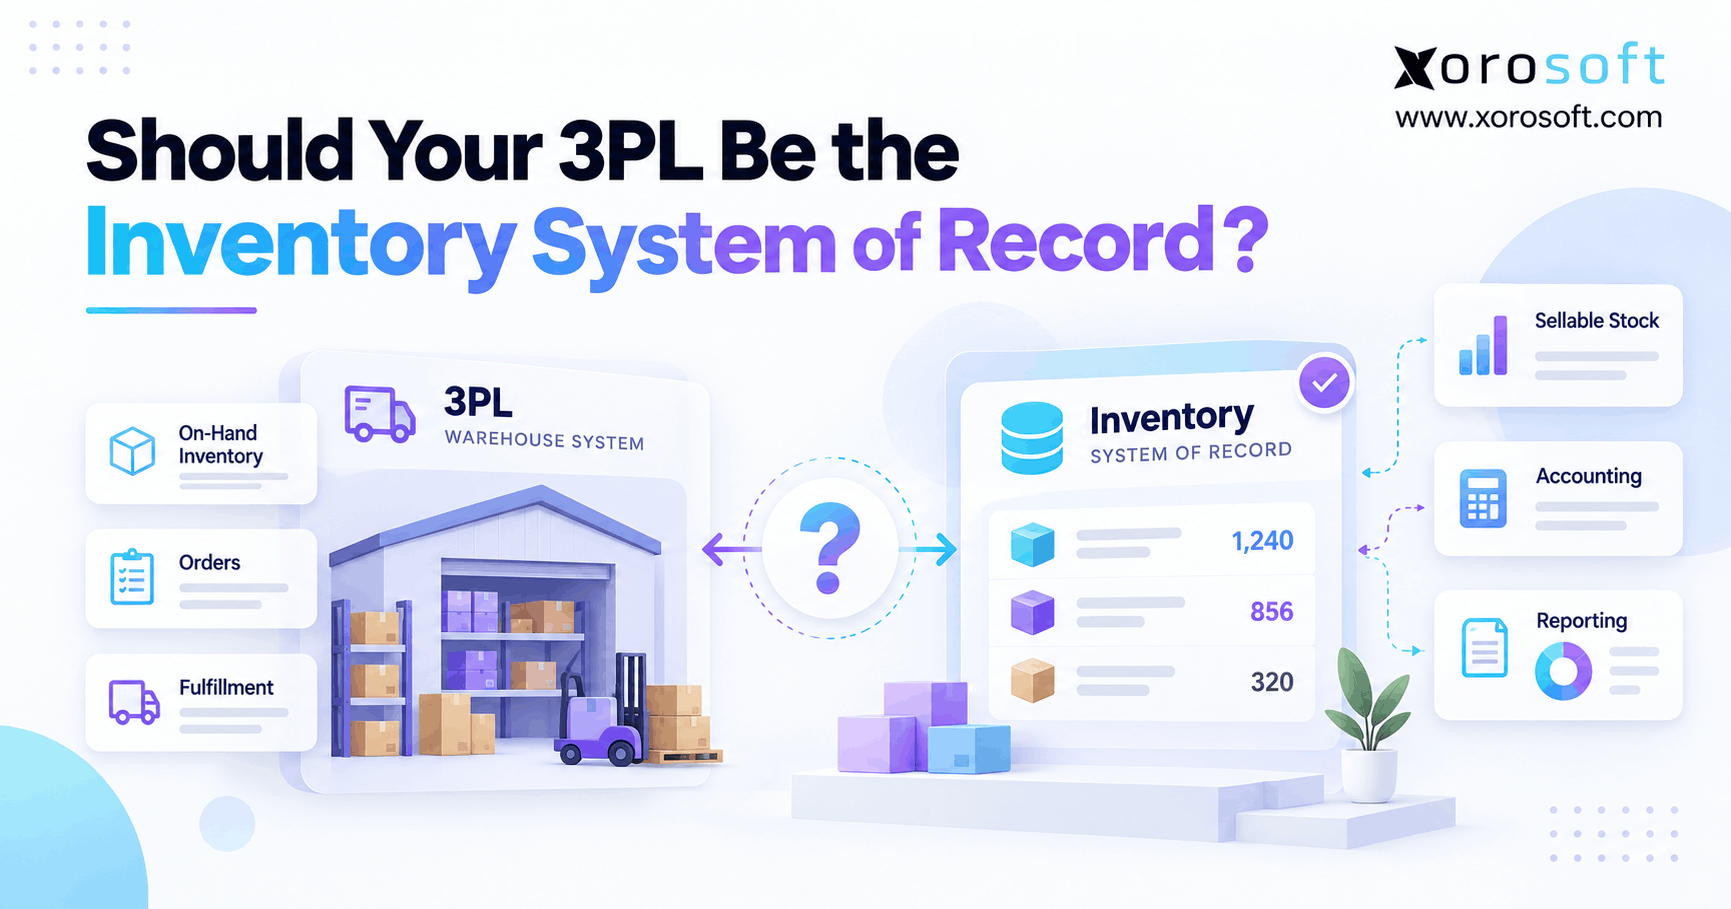
Each important data object needs one authoritative owner.
If the ERP controls SKU creation, users should not create duplicate products directly inside another system. When the WMS owns bin-level inventory, external applications should not overwrite those balances without a controlled transaction.
Document ownership for products, purchase orders, sales orders, transfers, inventory adjustments, shipments, customers, suppliers, and warehouses.
A formal integration strategy should also define direction, timing, trigger, error handling, and reconciliation responsibility.
9.2 Test Integration Failures, Not Just Successful Messages
Successful API calls prove only part of the process.
Operations also needs an answer when an order reaches one system but not another.
Determine how employees detect failed transactions, who investigates them, how the system retries them, and how teams verify that recovery did not create duplicates.
Without these controls, small integration failures can produce inventory differences that remain invisible until customers or finance discover them.
10. Adapt the WMS Onboarding Checklist for Shopify and Multichannel Inventory
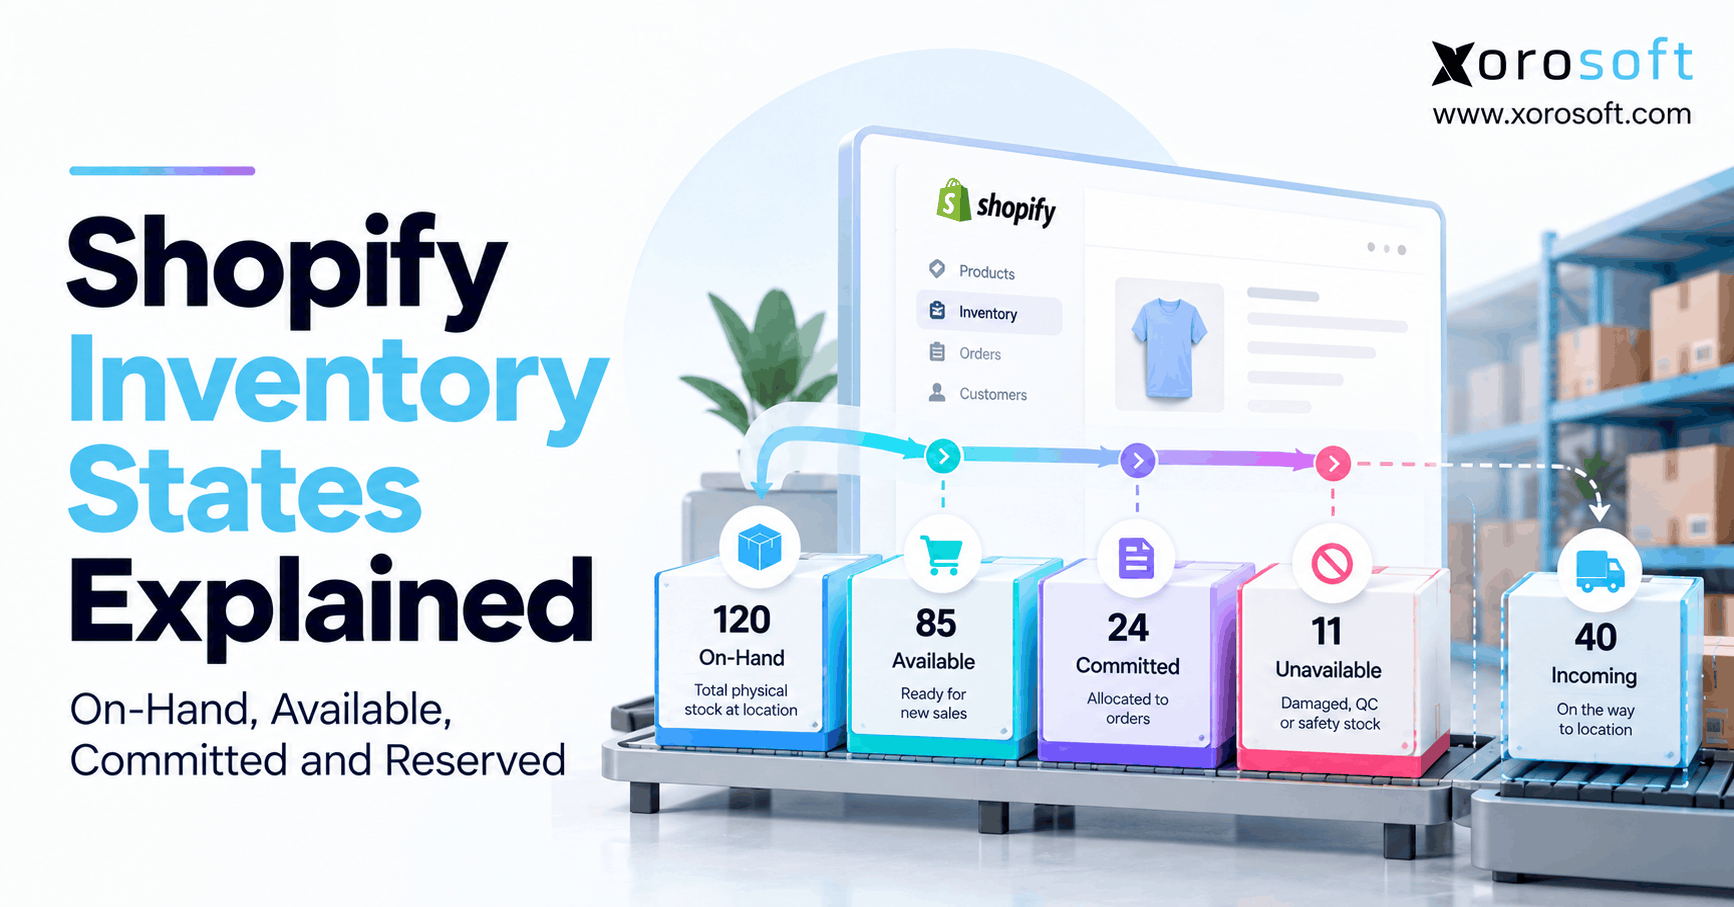
Ecommerce adds another inventory concept: sellable quantity.
Physical on-hand stock and customer-facing availability do not always match.
An item can sit inside the warehouse while operations keeps it unavailable because it awaits inspection, belongs to another order, sits in quarantine, or remains part of an interwarehouse transfer.
10.1 Define How WMS Inventory Becomes Available to Sell
Before go-live, determine which warehouse events change channel inventory.
Should a receipt immediately increase available stock, or should availability wait until putaway? Does order allocation reduce the sellable quantity? How does the business treat returns? What happens when stock travels between warehouses?
Write these rules down.
Shopify-based businesses examining how ecommerce connects with ERP and warehouse processes can review the Xorosoft ERP app on Shopify as one example of connecting storefront activity with inventory and back-office operations.
10.2 Map Shopify Locations to WMS Warehouses Carefully
A WMS may manage thousands of individual bin positions, while an ecommerce channel usually needs a simpler inventory view.
Do not expose every warehouse bin as a separate selling location unless the business genuinely requires that design.
Instead, determine how physical WMS locations roll up into the inventory locations used by the channel.
10.3 Test Multichannel Inventory Timing
Timing matters as much as quantity.
An inventory adjustment that takes too long to reach a channel can allow additional orders against stock the warehouse no longer has.
The WMS readiness checklist should therefore test receiving, allocation, cancellation, transfer, adjustment, shipment, and return events across connected channels.
11. Make Opening Inventory a Core WMS Go-Live Checklist Requirement
Opening inventory creates the starting point for every future warehouse transaction.
A correct receipt posted against an incorrect opening balance still produces an incorrect current balance.
Teams should therefore treat inventory cutover as a controlled operational process, not a spreadsheet upload.
11.1 Set a Clear WMS Inventory Cutoff
Choose a specific point when the old inventory environment stops changing.
Document the last receipt, shipment, transfer, adjustment, return, and relevant production transaction.
Then decide how to handle open work.
Purchase orders may remain partially received. Sales orders may already carry allocations. Transfers may sit in transit between warehouses. Returns may have reached the building without completing inspection.
Every scenario needs a defined treatment.
11.2 Count Opening Inventory at the Right Level
Count stock at the same level the WMS will control it after go-live.
Basic inventory may require SKU + warehouse + bin + quantity.
Lot-controlled items add a lot identifier and possibly expiry information. Serial-controlled products need individual serial numbers. Other businesses may also track status, license plate, ownership, or quality attributes.
When operations needs a connected environment across warehouse management, purchasing, manufacturing, accounting, ecommerce, and forecasting, XoroONE offers a relevant example of the broader architecture that WMS onboarding may need to support.
11.3 Preserve Non-Sellable Inventory Status
Do not make totals match by loading every physical unit as ordinary available stock.
Keep damaged, expired, quarantine, quality-hold, returned, customer-owned, or otherwise restricted inventory in the appropriate state.
Correct classification protects allocation accuracy from the first day.
12. Use Inventory Reconciliation to Validate WMS Onboarding
An import completion message does not prove inventory accuracy.
The warehouse needs to reconcile stock across every dimension that affects operations.
12.1 Reconcile WMS Opening Inventory by SKU and Location
Begin with the total quantity for each SKU.
Next, compare balances by warehouse. Then inspect bin-level quantities where the WMS controls stock at that level.
This sequence matters because totals can hide serious distribution errors.
A business might hold 1,000 units overall while assigning 800 of them to the wrong warehouse during migration. Company-wide totals would still match, yet local fulfillment would fail.
12.2 Validate Lots, Serials, and Inventory Status
Controlled inventory needs deeper checks.
Review lot identifiers, serial numbers, expiration dates, status, and any ownership or quality dimensions the business uses.
Do not approve a serialized product merely because the total quantity matches. Duplicate or missing serial numbers can produce the correct aggregate count while leaving individual inventory records wrong.
Businesses with industry-specific requirements can use Xorosoft’s inventory-driven industry coverage as additional context when defining controls for apparel, wholesale distribution, furniture, sporting goods, food, manufacturing, and other operational models.
12.3 Bring Finance Into WMS Inventory Reconciliation
Quantity and financial value eventually meet.
If an ERP or accounting system maintains inventory valuation, finance should understand the final opening balances and investigate material discrepancies before operations treats the new system as authoritative.
That discipline prevents warehouse cutover differences from becoming month-end reconciliation problems.
13. Turn the WMS Readiness Checklist Into Real User Acceptance Testing
User acceptance testing should prove that warehouse employees can complete real work.
A consultant demonstrating a configured workflow does not provide the same assurance.
Workers need to perform transactions themselves, with representative data and production-like devices.
13.1 Test Normal WMS Workflows With Real Operators
Choose scenarios that represent everyday activity.
For inbound operations, include a normal receipt, partial receipt, over-receipt, wrong SKU, damaged stock, lot-controlled product, and serial-controlled product.
Outbound tests should include ordinary picks, shortages, wrong-location attempts, split locations, multi-line orders, cancellations, and packing exceptions.
Inventory control needs transfers, replenishment, counts, adjustments, quarantine, and discrepancy investigations.
13.2 Add Exception Scenarios to the WMS Onboarding Checklist
Warehouses usually encounter trouble when reality differs from the expected process.
A supplier ships 48 units instead of 50. Someone damages a product after picking. A label becomes unreadable. Wi-Fi drops. A printer stops. Inventory appears physically but not digitally.
Test those events.
Employees should know how to respond without creating undocumented workarounds.
13.3 Require Evidence Before Approving WMS Testing
Document the scenario, expected result, actual result, tester, status, defect, owner, corrective action, and retest result.
Project teams should avoid vague judgments such as “basically working.”
Critical warehouse processes require clear evidence before operations approves them.
14. Use the WMS Configuration Checklist to Prevent Common Go-Live Mistakes
Most onboarding failures do not come from one dramatic decision.
Instead, teams accumulate shortcuts.
They migrate dirty data, postpone exception testing, rely on administrator accounts, skip physical validation, or decide to reconcile inventory after launch.
Each shortcut transfers work from the project team to live operations.
14.1 Avoid Overengineering WMS Configuration
More configuration does not automatically create a better warehouse.
Every rule introduces something employees, supervisors, administrators, and future projects need to understand.
Use complexity only when it solves a genuine operating requirement.
A simple warehouse does not need an elaborate location hierarchy simply because the WMS can support one.
The same principle applies when evaluating broader Xorosoft solutions: enable capabilities according to business processes rather than turning on every available option during initial onboarding.
14.2 Replace Old Workarounds Instead of Digitizing Them
Employees may already depend on spreadsheets, handwritten notes, temporary locations, shared logins, and manual reconciliations.
Do not automatically reproduce those habits in the new WMS.
First identify the reason behind each workaround. Then decide whether the new system should replace it, formalize it, or leave it outside the process.
A new platform should reduce hidden operational dependencies rather than make them permanent.
14.3 Train Users Before WMS Go-Live Day
Hands-on practice matters more than presentation slides.
A receiver should know how to handle a short shipment before the supplier truck arrives during production. Pickers should understand wrong-location and shortage workflows before the first real wave begins.
Relevant customer case studies can provide broader implementation context, but every business should still set its own operational acceptance criteria.
15. Adjust the WMS Onboarding Checklist to the Business Model
Warehouse onboarding should reflect how the company buys, stores, sells, manufactures, and ships products.
A generic configuration may work technically while ignoring the complexity that actually drives the operation.
15.1 Ecommerce WMS Onboarding Priorities
Ecommerce warehouses usually need reliable order import, fast picking, accurate available-to-sell inventory, packing validation, shipping confirmation, returns, and rapid channel synchronization.
High SKU counts and promotion-driven volume spikes can make device throughput and pick-path design especially important.
15.2 Wholesale WMS Setup Requirements
Wholesale operations often add case quantities, customer allocations, backorders, EDI requirements, pallet handling, customer-specific labels, routing guides, and retailer compliance rules.
The WMS needs to protect allocations while also managing inventory available to other channels.
15.3 Manufacturing Warehouse Onboarding Requirements
Manufacturers may move stock between raw-material storage, production staging, work-in-progress, finished goods, inspection, and shipping.
Those flows require location design and permissions that reflect production activity rather than only distribution.
15.4 Lot-Controlled and Expiry-Sensitive WMS Requirements
Food, beverage, cosmetics, and other regulated or date-sensitive products can require lot capture, expiry dates, quarantine, traceability, recall readiness, and FEFO-style allocation rules.
Teams should test these controls during onboarding, not after inventory has already entered the warehouse.
16. Turn the WMS Onboarding Checklist Into a Controlled Go-Live
The final WMS decision should answer a simple operational question: can the warehouse process tomorrow’s real inventory and orders without depending on undocumented workarounds?
Teams need evidence before answering yes.
Master data should support the warehouse workflows. Location records should match the physical facility. Production labels should scan correctly. Devices should work where employees use them. Permissions should support each role without creating unnecessary access.
Receiving, putaway, replenishment, picking, packing, shipping, transfers, counts, returns, and exception processes should also pass realistic tests.
Opening inventory needs equal scrutiny. Operations should reconcile stock at the required warehouse, location, lot, serial, and status level. Finance should understand any valuation impact, while integration owners should verify that connected systems agree on the relevant transactions.
16.1 Require Operational Sign-Off Before WMS Go-Live
Technical completion alone does not prove warehouse readiness.
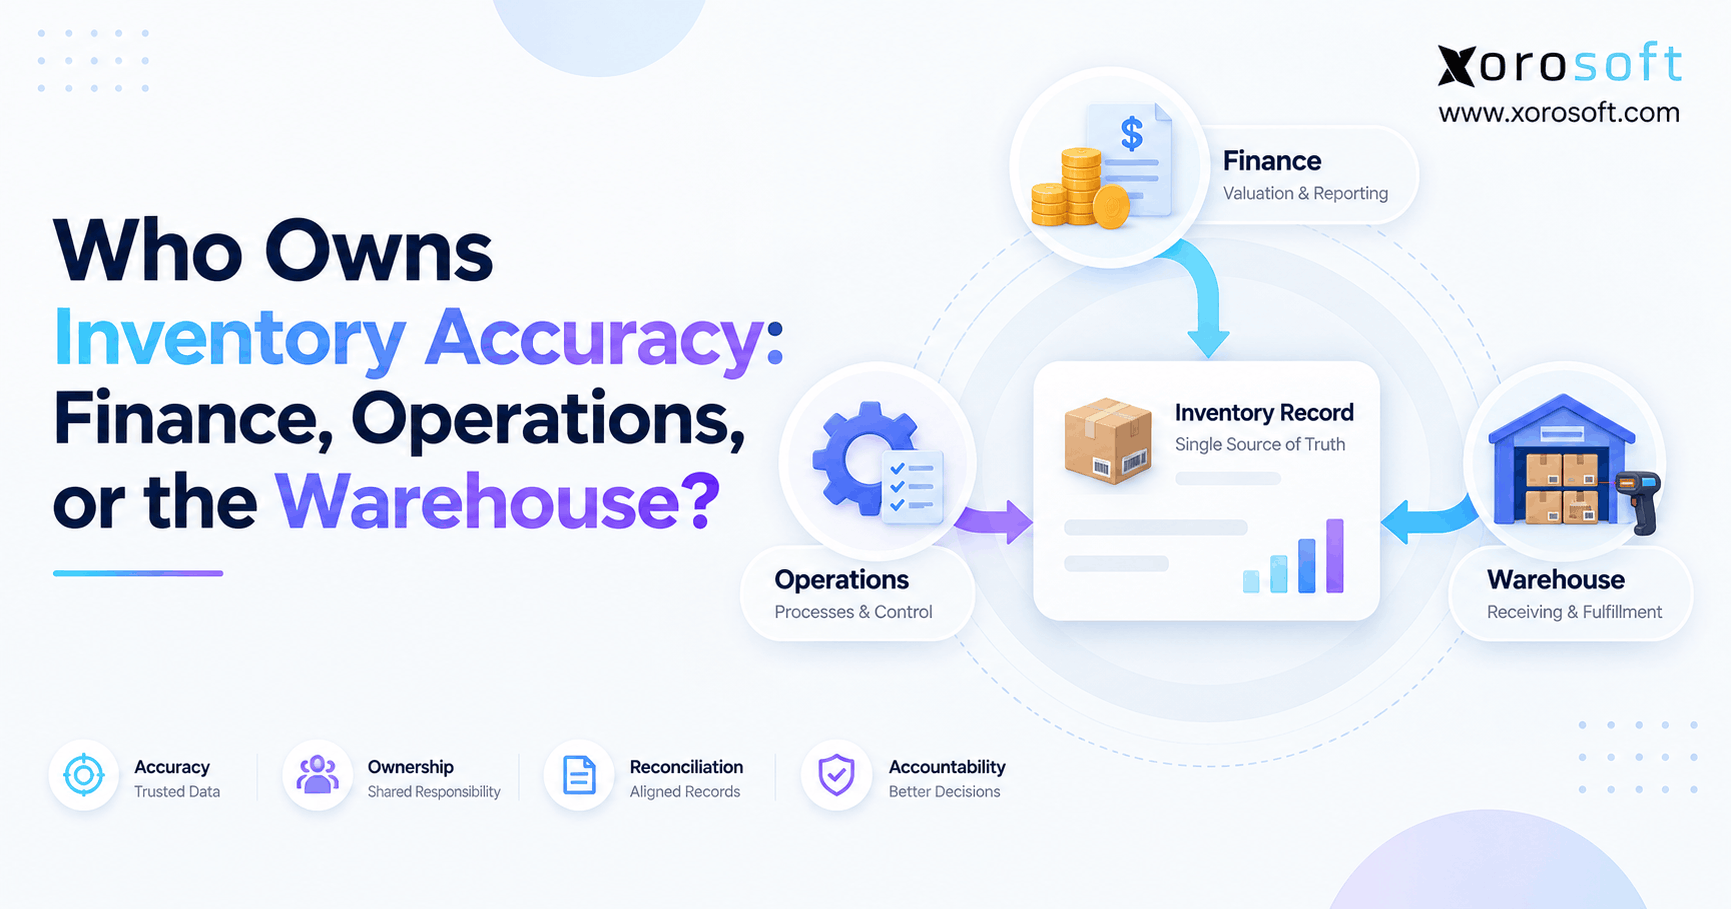
Warehouse leadership should approve physical workflows. Inventory control should approve stock accuracy. Finance should approve the relevant balances. Ecommerce, wholesale, or integration owners should validate data movement across connected systems.
Project leadership can then review outstanding issues and decide whether any remaining risk is acceptable.
This approach makes the WMS onboarding checklist a formal go-live control rather than a loose project document.
16.2 Plan the First Days After WMS Launch
Define support ownership before production begins.
Employees should know where to report errors, who can approve emergency adjustments, how teams investigate inventory differences, and how integration failures escalate.
During early production, review receiving exceptions, putaway backlogs, picking shortages, inventory variances, failed scans, printer problems, integration errors, and delayed shipments more frequently than normal.
Fast detection keeps temporary launch issues from turning into permanent operating habits.
16.3 Use WMS Onboarding Findings to Evaluate the Wider Technology Stack
Warehouse onboarding often reveals weaknesses outside the warehouse itself.
Purchasing may provide incomplete inbound information. Ecommerce inventory may update too slowly. Finance may depend on manual reconciliation. Separate applications may maintain competing versions of product or inventory records.
When those issues appear, leadership should evaluate the wider system architecture instead of treating every problem as another WMS configuration request.
A company running warehouse software alongside disconnected purchasing, accounting, ecommerce, manufacturing, EDI, and inventory applications may eventually benefit from a more unified operating model.
For inventory-driven organizations reviewing that broader architecture, Xorosoft can provide one ERP/WMS option to evaluate against the requirements uncovered during onboarding.
Rather than beginning with a software feature list, document the workflows, controls, integrations, inventory dimensions, and exceptions that the business actually needs. Use those requirements to compare platforms and determine whether a standalone WMS, an ERP-connected WMS, or a unified environment provides the most practical fit.
Teams preparing for warehouse go-live or evaluating a broader ERP/WMS transition can contact Xorosoft to discuss the operational requirements behind their implementation.
The strongest warehouse launch does more than introduce new software. It gives employees a controlled operating model in which they know where inventory belongs, how it moves, which system owns each transaction, how they handle exceptions, and who takes responsibility when physical stock and digital records disagree.
Frequently Asked Questions
What should a WMS onboarding checklist include?
A WMS onboarding checklist should cover master data, warehouse locations, barcodes, devices, user permissions, workflow testing, integrations, opening inventory, reconciliation, and final go-live approval.
How should warehouse locations be structured before WMS go-live?
Create a clear hierarchy for warehouses, zones, aisles, racks, levels, and bins. Each location should have a unique, scalable code that employees can easily identify and scan.
What barcode checks should teams complete before WMS launch?
Validate product, case, pallet, and location barcodes. Test duplicate, damaged, incorrect, and multiple-barcode scenarios to confirm the WMS identifies inventory and locations accurately.
What devices should teams test during WMS onboarding?
Test handheld scanners, mobile computers, label printers, workstations, batteries, charging equipment, and Wi-Fi coverage throughout every warehouse area where employees will complete transactions.
How should WMS user roles and permissions be configured?
Assign permissions according to job responsibilities. Restrict high-risk actions such as inventory adjustments, shipment reversals, master-data changes, and administrative configuration to authorized users.
When should opening inventory be loaded into the WMS?
Load final opening inventory after establishing a transaction cutoff, verifying physical stock, validating locations and inventory attributes, and preparing the production environment for reconciliation.
How do you know a warehouse is ready for WMS go-live?
The warehouse is ready when locations, barcodes, devices, users, workflows, integrations, and opening inventory pass testing and responsible business owners approve the remaining operational risk.
Search
Categories
- Accounting & QuickBooks 227
- AI & Automation 585
- E-commerce & Marketplaces 1,202
- EDI & B2B 150
- ERP 573
- ERP Selection & Comparisons 166
- Industries 228
- Integrations 137
- Shopify ERP 137
- Inventory Management 1,205
- Order Management & Fulfillment 578
- Procurement & Supply Chain 9
- Procurement, Purchasing & Reordering 417
- Resources 248
- Shopify 649
- Solutions 601
- Warehouse & WMS 1,078
Recent Posts
-
 ERP for US–Canada Ecommerce Operations Managing Cross-Border Inventory
 -
 Wholesale Order Automation Statistics 2026: Entry, Approval and Exception Costs
 -
 ERP vs Point Integrations: The Real Cost of Running Shopify Operations Across Multiple Apps
 -
 How to Integrate Shopify B2B EDI Orders With ERP and Warehouse Workflows
 -
 Inventory and Working Capital: Why Growth Can Hide a Cash Problem